The point of knowing Cache callouts isn’t to impress your teammates with your vocabulary. It’s about giving your team usable info, fast. Cache is a relentlessly fast map: rotations are instant and fights are often brutal, with rapid firefights where hesitation means a death sentence. When you call the right spot name, your teammates can position, trade, and throw utility with a plan instead of guessing what you meant. That matters even more in solo queue, where unclear comms turn into wasted seconds. In this guide, I’ll break Cache into its main zones: A site, B site, and Mid. Then we cover the extra areas that come up during rotates, saves, and retakes. Learn these names, connect them to landmarks, and you’ll notice your team decisions get better right away.
Learning Cache Map Callouts
Cache has long been shaped by the community, and that shows in its callouts. Many names come from obvious visual markers, like doors, room themes, boxes, or pieces of cover. So once you see the landmark, the term tends to stick. Other callouts are legacy names that players kept using for years, so they became standard through repetition.
The map is also relatively easy to read. You’ve got two sites with distinct entry routes, a Mid that controls rotations and splits, and connectors that make timing and information important every round. If you learn the map by zones (A, Mid, B) instead of trying to memorize everything at once, the callouts feel much more natural.
Cache A Site
A is often decided by which entry point is being pressured and where the defender is holding from. The key is calling both the direction and the anchor spot so your team knows what to clear first.
- A Site: The full A bombsite area where the main fights and plants happen.
- A Main: A Main serves as the connector between T Spawn and B Site.
- Squeaky: The squeaky-door route/room that opens into A Site.
- A Long: The longer approach toward A, often tied to pressure toward the Squeaky side.
- Shroud: Also known as Boost Boxes. The box corner on A used for boosts and sharp angles.
- NBK: The common corner near Quad/Squeaky side, used for holds and trades.
- Quad: The stack area near the back of A that’s central in post-plants and retakes.
- A Default: The most standard, safe plant spot on A.
- Forklift: The forklift position used as cover and a frequent reference point in fights.
- Balcony: The raised platform near Forklift that gives a stronger line of sight.
- Highway: The Mid-to-A rotation path used for splits and retakes.
- Default Box: The common box cover near default that gets referenced in duels and spam.
Cache B Site
B is smaller than A, but it has layers: site, an elevated hold, and the Checkers/Vents pressure points.
- B Site: The main B plant zone and surrounding fight space.
- B Main: The main entry lane attackers use to hit B.
- B Halls: The interior route that helps Ts approach and regroup before committing.
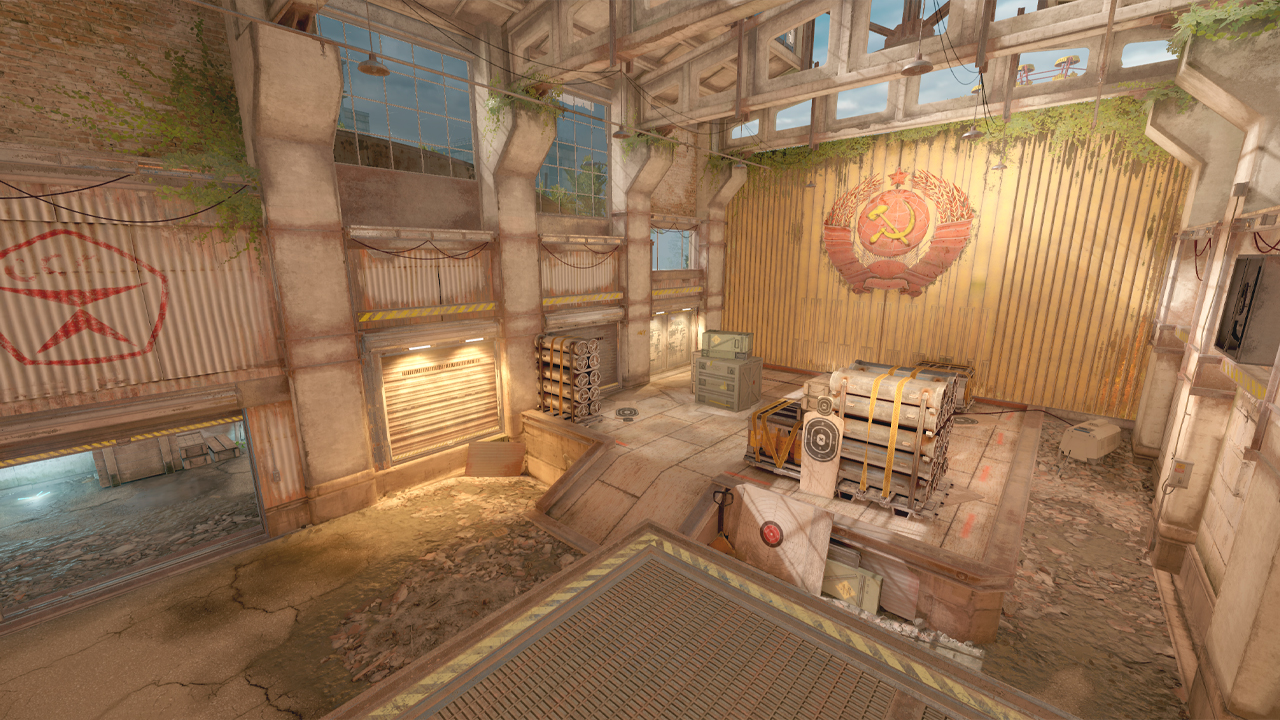
- Sun Room: The room with the sun artwork, used as a staging spot before B pressure.
- Toxic: The “toxic” barrel landmark near Sun Room used for quick location calls.
- Checkers: The checkered-floor room, a major control point for CTs and retakes.
- Back Checkers: The deeper position inside Checkers behind cover.
- Vents: The vent route connecting Mid and the Checkers side, used for lurks/rotates.
- B Default: The most common plant position on B behind the typical cover.
- Headshot: A low cover spot where you often only see the top of a crouched player.
- Heaven: The elevated platforms that overlook B and support strong holds.
- Back Site: The back-box area on B used for defending and post-plant.
- Pit: The dip near the ramp side that creates awkward, low-angle fights.
Cache Mid
Mid is the control valve of Cache. If you can hold Mid, your team gains information, faster rotations, and the ability to split either site without walking blind into stacks.
- Mid: The central zone that links key rotations and split routes.
- Garage: The large building area connecting T-side space into Mid pressure.
- T Red: The red-container position inside Garage used for picks/info.
- Cubby: The tucked corner near the A Main side used for hiding and close fights.
- Boost: The boostable spot that creates unexpected vertical angles into Mid.
- White Box: A common reference cover point near the Mid/Highway end.
- Highway: The rotation lane that connects Mid toward A-side plays.
- CT Connector: The CT-side connector room used for control and AWP lines.
- Sand Bags: The sandbag cover area around Mid fights, often used as an off-angle.
- Mid Roof: The roof area near Vents/Sand Bags used for vertical control and info.
Other Key Cache Callouts
These calls matter when rounds stretch out: rotations, late lurks, saves, and retakes. Even if you don’t fight here every round, you’ll hear these names constantly.
- CT Spawn: The main CT start area used as a timing reference.
- T Spawn: Common T-side reference landmarks for early info and regrouping.
- CT Halls: The CT-side hallway route used for moving between defense points.
- Truck: The truck landmark near CT-side paths used in rotate and retake calls.
- Dumpster: The connector space between Garage routes and B-side approaches.
- T Spawn: Common T-side reference landmarks for early info and regrouping.
- Elektro: The area near the A-side rotation path often mentioned in A retakes.
Make Cache Callouts Feel Simple
Here are all Cache callouts, made accessible for you. The map can feel strict when you’re learning, but the locations are logical once you tie each name to a landmark and a job in the round. Work by zones: get comfortable with A entries and anchors, then B’s layered rooms, then Mid control and rotations. Over time, it stops being about remembering every term perfectly and becomes more about reading the flow, like where pressure is building, where the gaps are, and how quickly your team can react together. Keep your callouts short, stay in touch with your teammates, and you’ll notice Cache starts to play easier. Good luck!