Dust 2 is the map we all know, love (or maybe hate), and have probably played a million times. This iconic map, long favored by players for its balanced design and straightforward layout, still remains a central fixture in the competitive scene. If you’re here, chances are you’ve found yourself in a situation where you wanted to shout out a position to your teammates, but you weren’t quite sure what to call it. We’ve all been there! Maybe you’re new to the game or have been grinding for years, getting those callouts down is essential if you want to step up your game and communicate like a real pro. This guide is here to help with that! We’re breaking down all the important Dust 2 callouts, with simple descriptions so you can start calling spots quickly and accurately. From A Site to B Tunnels and everywhere in between, this will be your go-to guide for staying one step ahead of the competition!
Understanding Dust 2 Callouts
Dust 2 is divided into several key sections that define the flow of gameplay. From A Site to B Site, through Mid, and even the lesser-known areas, each location has a specific role in the match’s dynamics. Its enduring popularity within the Counter-Strike 2 community has persisted since its debut in 2001.
Originally crafted by David Johnston as a sequel to the original “Dust” map, Dust 2 was designed with a commitment to simplicity and balance. Its symmetrical layout and two opposing sides provide the foundation for intense competition. This map has remained a constant presence in CS2 gameplay, serving as the stage for competitions where top Counter-Strike players show their skills. The good news is that Dust 2 boasts some of the most straightforward callouts in the entire game. Also, we have a compilation of top aim training maps.
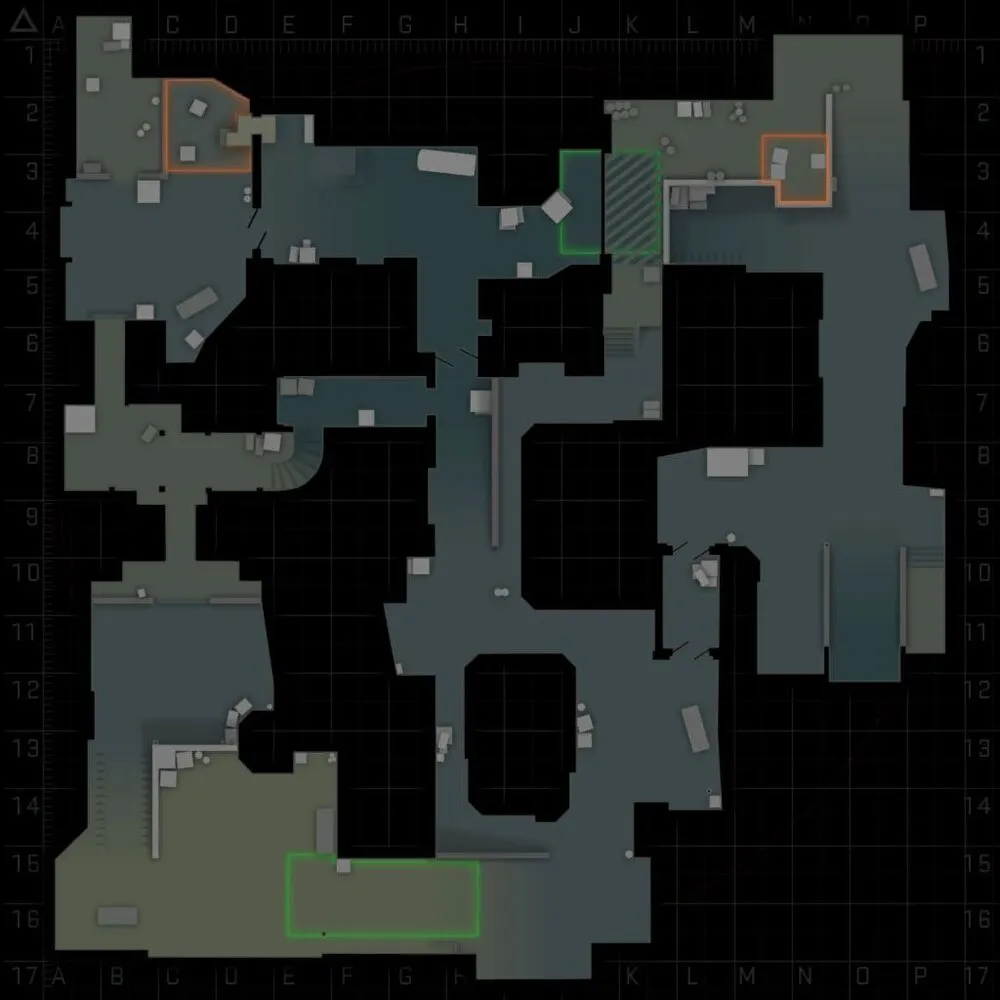
Dust 2 A Site
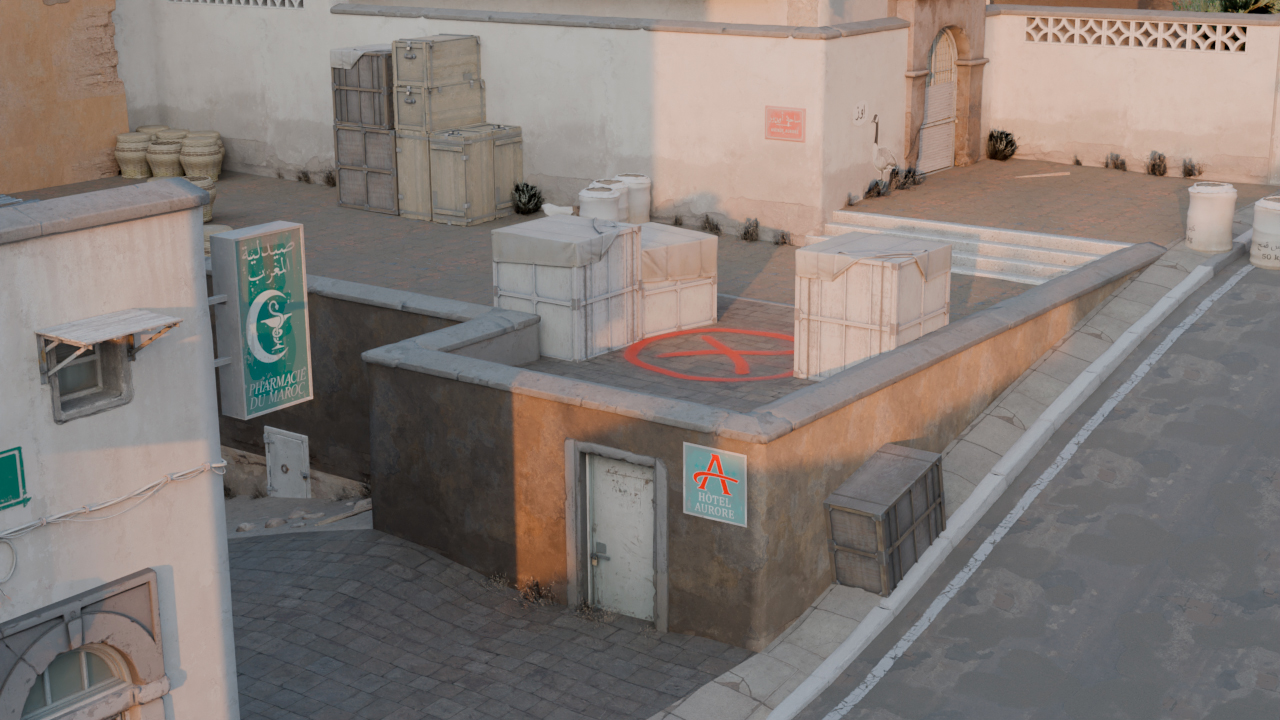
Dust 2’s A site features crucial callouts that every CS2 player should know:
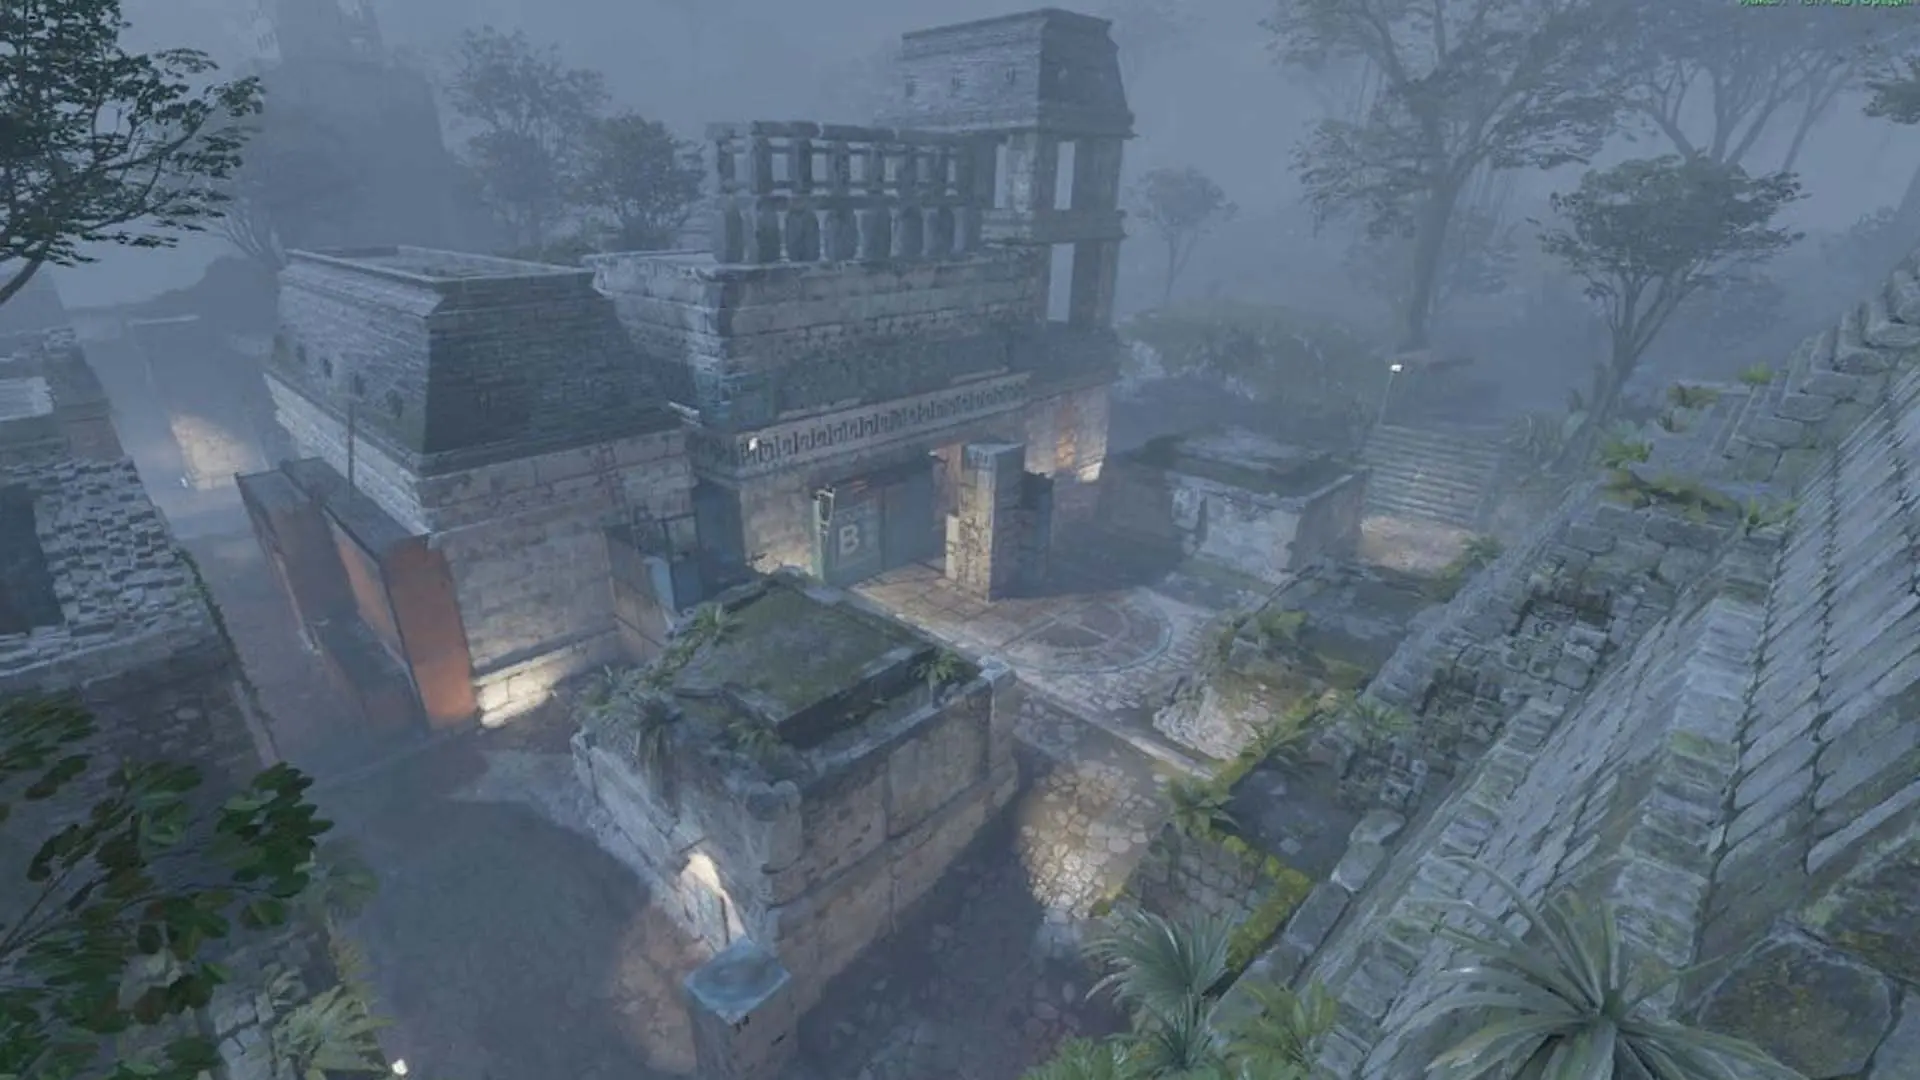
- A Site: The bombsite located at the east side of the map where the bomb can be planted.
- A Ramp: The sloped pathway that leads up to A Site from A Long.
- A Long: The long corridor extending from T Spawn to A Site.
- A Car: The standard defensive position located at the corner of A Long, often used to hold against pushes from A Short and A Long.
- Goose: The tucked corner on A Site, right behind A Ramp, popular for defenders waiting for enemies.
- Ninja: The hidden spot next to the A Site boxes where defenders can hide or attempt sneaky defuses.
- A Short: The small pathway connecting Mid and A Site, frequently used by Ts to push A Site.
- Catwalk: The upper path that leads from Mid to A Short.
- Elevator: The area at the bottom of A Site near CT Spawn where players can boost each other up to A Site.
- Pit: The low-ground area to the right of A Site. Often used by defenders or attackers to get cover before committing to the bombsite push.
- Short Boost: The few boxes that can be used to quickly get to Short for CTs.
Dust 2 B Site
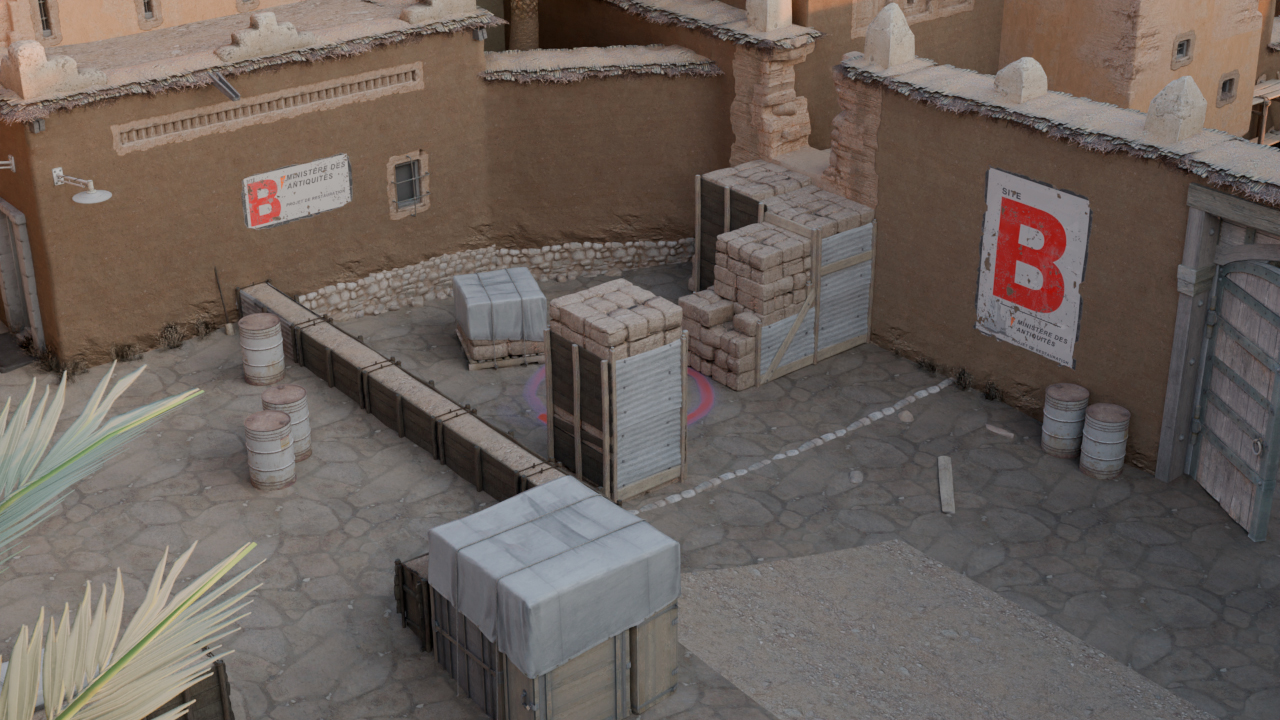
Now, let’s explore the B Site callouts in Dust 2 for CS2. B is a bit smaller and less complicated than A, with only one main entrance unless you opt for Mid and CT Spawns.
- B Site: The bombsite located at the west side of the map where the bomb can be planted.
- B Car: The common defensive position near B Site, used to watch for pushes from Tunnels or B Main.
- B Doors: The double doors leading into B Site from CT Spawn.
- B Window: The window on B Site that provides vision into the site from the platform.
- Back Plat: The defensive position at the far back of B Site, usually used to hold the window or B Tunnels push.
- Big Box: The large crate near the entrance of B Site from B Tunnels, offering cover for defenders.
- Outside Tunnels: The large area near Upper Tunnels and T Spawn.
- Upper Tunnels: The upper part of the tunnel network connecting Mid and B Site.
- Lower Tunnels: The lower part of the tunnel network that connects B Tunnels and Mid.
- Scaffolding: The structure next to the B Window that can be climbed on to protect the B Site.
Dust 2 Mid
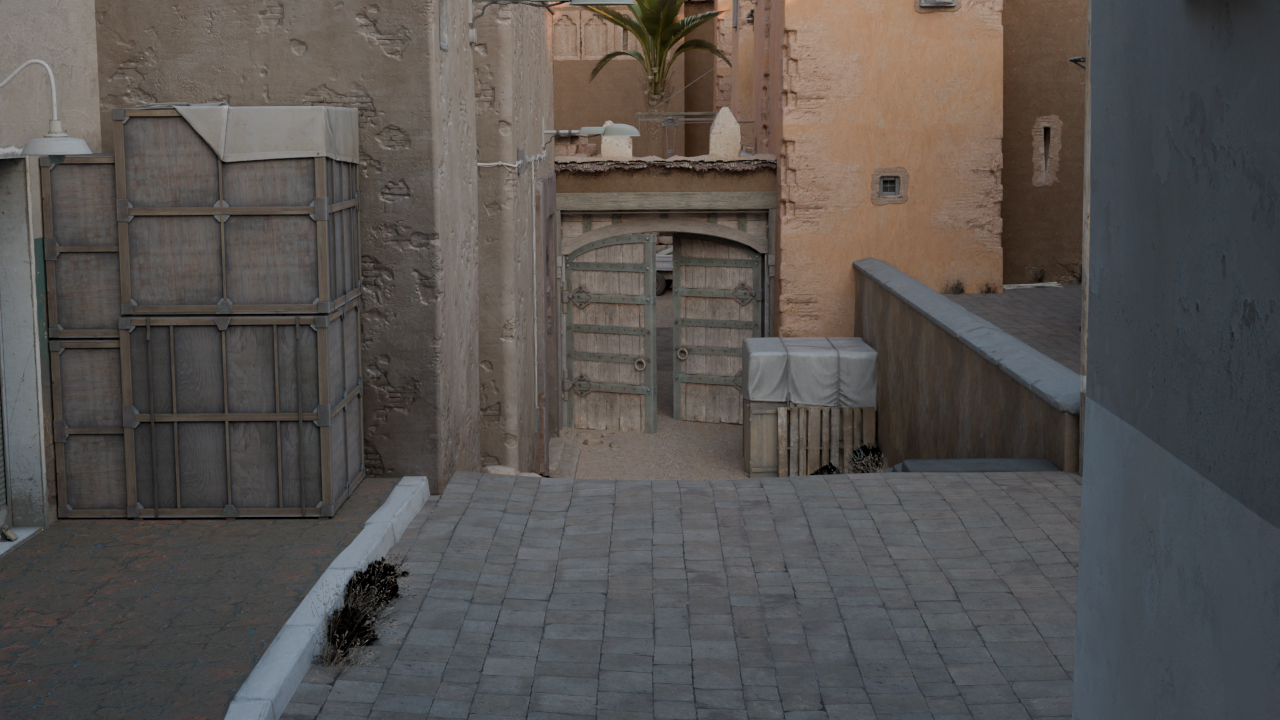
Now, let’s explore the Middle area of Dust 2. This zone can serve as a direct route to Site A or act as a flanking path towards the Tunnels. Here are the essential Dust II callouts for CS2 players in the Middle area.
- Mid Doors: The double doors at Mid, providing vision and access between Mid and T Spawn or CT Spawn.
- Mid: The central open area of Dust 2, connecting both A and B Sites.
- Xbox: The large crate in Mid used to boost players up to Catwalk and A Short.
- Suicide: The narrow pathway from T Spawn to Mid that exposes players to snipers through Mid Doors.
- Top Mid: The elevated area at the top of Mid, closer to T Spawn.
- CT Mid: The area at the bottom of Mid, closer to CT Spawn, offering access to both A and B Sites.
- Palm: The position next to Catwalk and Mid where the palm tree used to be.
Discover the top wallbang spots on Dust 2 with our ultimate 2026 guide. Elevate your gameplay with expert tips and strategies to dominate the battlefield.
Other Key Dust 2 Callouts
- CT Spawn: The area where the Counter-Terrorists spawn, providing access to both A and B Sites.
- T Spawn: The area where the Terrorists spawn, offering access to A Long, Mid, and B Tunnels.
- Long Doors: The double doors at the entrance of A Long, separating A Long from T Spawn.
- T Ramp: The passageway from T Spawn to B Tunnels, allowing Ts to quickly run into the B Site.
Dust 2 Callouts: A Key Skill for CS2 Players
The more you practice Dust 2 and learn these callouts, the more effective you’ll become as a player. Info about enemy positions is very important, so every player in CS2 needs to know how to properly deliver this information to your teammates. What you say to your teammates is an integral part of gameplay. Many players will look exactly at the part of the map you point to. So now you’ve got all the callouts for Dust 2 locked and loaded. You’ll be able to communicate way more effectively, avoid confusion, and probably save yourself a ton of unnecessary losses. Next time you play on Dust 2, don’t hesitate, say those callouts and keep your team in sync.


![CS2 Cache Callouts: Full Interactive Map [2026]](https://community.skin.club/wp-content/uploads/2026/03/Main-x-Name-3.jpg.webp)
![Newest CS2 Cases: List & Release Dates [2026]](https://community.skin.club/wp-content/uploads/2026/05/Main-x-Name.jpg.webp)